Essex, UK
Are you planning a spring garden refurb? At Ashwells we are often asked which timber is best for building raised garden beds, our answer is reclaimed Greenheart skimmings.
Our reclaimed Greenheart originally grew in South America before being imported into the UK for marine construction many years ago. Reclaimed Greenheart Skimmings' strength and durability make them an obvious choice for any sustainable garden construction project.
In this article, a customer shared her experience of reconstructing her vegetable garden and the benefits of using reclaimed Greenheart skimmings to build raised beds.
Vegetable gardening is a quiet passion of mine: like so many people, especially during the last couple of years, I have taken to learning by growing. Through surprises and humbling disasters, season by season, the vegetables have taught me how our food grows.
This passion began about 12 years ago, not long after my father died. While we were caring for my mother, I wanted something to do outdoors, that I would learn new skills and could do in my own time. So I began with tomatoes, growing them in bags and being astonished in that first year by how huge they became!
The following year I branched out with a couple of shop-bought raised beds – about 10 inches high and filled them with even more tomatoes and some basil. On it went, and a few years later, when the opportunity came to re-landscape the back of our garden, we invested in scaffolding boards and fence posts to create four large 8msq planting areas.
My plan was to rotate crops, grow organically, explore varieties old and new, and just simply learn. Our Essex clay improved slowly with tonnes of well-rotted manure and recycled garden waste. Yet as each season saw the soil improve, I could not help but notice the scaffolding boards decomposing at a similar rate. They endured about seven winters before one of the anchor beds crumbled away. In all honesty, I had put off rebuilding them because I knew how much hard physical work it was going to take. But this year there was no shying away: they all had to be done.
I spoke to Deb and Janine of Ashwells about my plans to rebuild the veg beds, and they suggested I consider using cut-offs from some of the reclaimed tropical timber they are so well known for providing to landscapers around the UK.
The "shavings", or "skimmings", as they call them, are heavy-weight timber boards in a range of thicknesses from 4-10cm depending on the cut. The shavings I used were from huge old Greenheart piling timbers which had been in the sea for centuries, transported from the tropics to stand as sea defences for our island home. They arrived beautifully sawn to our agreed measurements with the evidence that they were once also home to countless crustaceans. The beauty of Greenheart is that it takes on a textured light grey patina as it ages – and it simply does not rot. There is no need for preservatives, no painting or spraying. They are simply beautiful as they are.
Along with the boards, Ashwells helped by recommending construction methods and supplied hardwood corner posts. When they arrived back in March, I was absolutely entranced by the many beautiful details in the grain of the exposed skin of the board. Some even had the marks of the enormous claw hooks, which would have been used to drag them from the forest.
The beauty of the boards brought a fragment of history into my vegetable garden, but it also reduced carbon emissions and supported local trade. It is time we all consider the source of what fills our garden sheds and patios. What we buy in garden centres matters and perhaps we can all make a difference one small garden at a time!
Building the beds
Using Ashwells Greenheart boards for raised beds is a long-term solution to maintaining a vegetable garden. Every garden is different, but the principles of assembly detailed below can be used for most sites. Once you have measured up the lengths you want and the structures you need, and taken delivery of the finished boards, assembly is straightforward.
Tools you will need:
-Measuring tools (long tape measure, metal right-angle measure, guides, string and marking pegs)
-Work trestles
-Drill for hardwood (fully ground machine drill 5.0 x 85mm)
-Post hammer (mallet)
-Electric drill
-Circle saw (for any adjustments)
-In-Dex Timber Screws 6.7 x 70 mm (or whichever size works for your design)
Step 1: Remove the old frames and prepare the sides
Take care with old nails and screws: old scaffold boards often have sharp metal end brackets, so watch out for those. Take the old boards to recycling depots. Do not burn them, as they are often impregnated with toxic chemicals. Remove old corner posts.
Remove about 30cm width of earth around the edge of the bed – piling it onto the centre. This creates space to work with the alignment. Try and find a level line and use gravel to create a visual line from corner to corner, especially for larger beds. The gravel also acts as drainage under the thin edge of the board.
Step 2: Mark the ground for the corner posts
Carefully measure the board lengths and post heights to achieve the depth you want in your bed. Check each board's width and front features to ensure you have the look you want.
Sink one corner post into the ground to about 20cm and ensure the angle is true to 45 degrees. Mark the second post the same, and so on. Do not set the posts in concrete. (Only use concrete if there is no other alternative. We did not need it.)
Step 3: Line up the boards to posts
Bring the four boards into the position you want with the posts. Because each board is different, the advice is to line each up provisionally and work out where the heights and corners need adjustment. At this point, you can work out if the long side of the bed, for instance, is on a slope and needs raising at one end (we used gravel for this).
Having set the relative heights and meeting points, fix the first and second posts in place with extra soil. Then mark the position of the screws to fix the board to the post.
Taking the first board up onto the work trestles, pre-drill the holes for the screws. Take the board down and line up to the posts. Fix with wood bolt screws.
It is important to get the first corner posts as accurate as possible. As you repeat these stages on the other sides and with the other two posts, you will begin to see how the corner ends can work with the posts and how best to adjust the heights.
Step 4: Finish beds
The rebuilding of your beds will reveal all kinds of things, from snail nests to deeply rooted weeds. Do what you can to remove snails and slugs by hand. It's a good idea then to deep dig the bed, but if you are on a no-dig regime, move the earth back to the sides of the beds and mulch over with cardboard, followed by a thick layer of compost, depending on what you are growing this year.
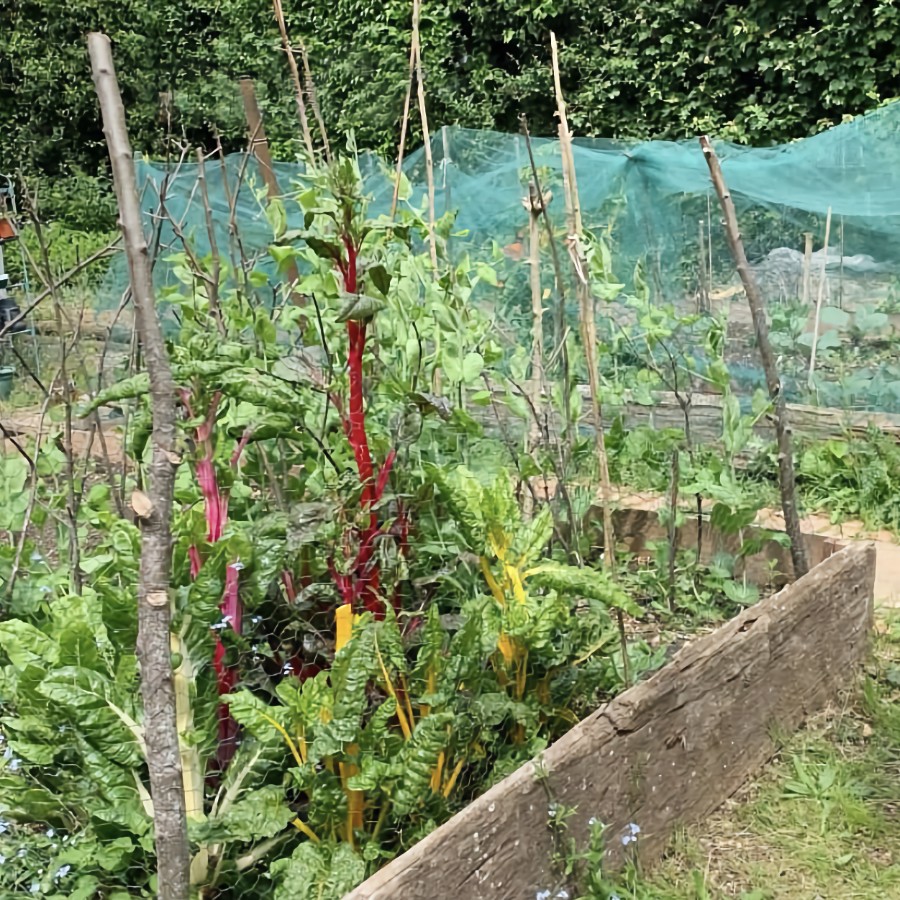
At the end of all this effort will be raised beds which have character, are incredibly resilient to our climate and, for this particular gardener, very beautiful. Happy growing!
Are you looking for some more green inspiration? Don't miss our reclaimed Balau cladding which will feature in the Sadler Wells East Garden, designed by Alexa Ryan-Mills at this year's RHS Chelsea Flower Show - 23 – 27 May 2023.
Ashwells Reclaimed Timber - Greenheart Skimmings
Look back at reclaimed designs from RHS Chelsea Flower Show 2019
Story Type: News